hey wyel2000 how a can put night mission... for example in storm the beach (mission 3 on normandy) is in the day... and i wanna put this mission on night.... what i must to do, for do that?
can you spend me DESTROY THE WARSHIPS and STORM THE BEACH in night (just the bas file i suppose) for see how its done (for put in the night) on e-mail if you want to.... thats help me.....
another question, when I'm on the mission saving private smith, I can not play the invasion ......Rescue all the allies and commands, file theft, and when I go to switch to activate the mission, I win instead of playing the invasion ..... why happens?
and how to put the germans in the mission of PLAYING_C2_ON_C3 Âż?
1.DESTROY THE WARSHIPS and STORM THE BEACH in night ---you self to moding
2.I can not play the invasion ......Rescue all the allies and commands, file theft, and when I go to switch to activate the mission, I win instead of playing the invasion ..... why happens? ---if is your to moding again. compare my code and original code ---if is playing the mission on my release. can start the invasion after you rescue the all commados.
3.how to put the germans in the mission of PLAYING_C2_ON_C3 ---conversion the c2 format code to c3 format from mis file
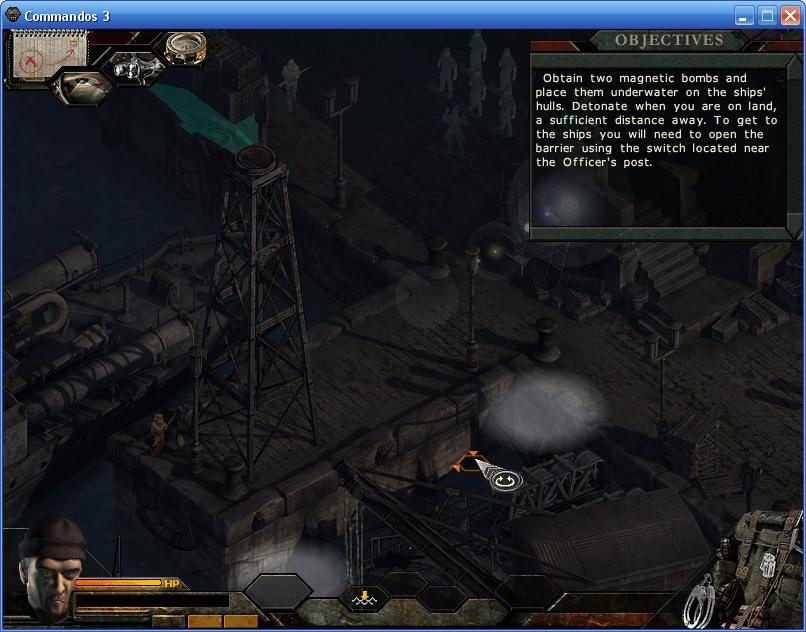
hi wyel2000 i'm modding the white death in commandos 3 and i go good (sorry bad english) but in the briefing i can crate or put the battle whit the germans and the allieds like in the commandos 2??
hi wyel2000 i'm modding the white death in commandos 3 and i go good (sorry bad english) but in the briefing i can crate or put the battle whit the germans and the allieds like in the commandos 2??
hey need help whit the patrols.... i tried 1 time and again and again and i can't and i don't understand how is for put the patrol like this in commandos 3:
and for put panzer tank or the others i not understund can you help me.... or just whit the patrols pliz.....
Patrols can be edited as normal soldiers for the way to act (go, stand, smoke, etc) plus, you can edit their quantity and quality like this:
.ESC EXTERIOR .ANGULO 0 .EMPIEZA PATRULLANDO .NCOLUMNAS 1.0 .NSOLDADOSCOLUMNA 2.0 .ANIMSOLDADO PATRULLEROSS.ANI .ANIMSARGENTO OFICIALSS.ANI .DETIENE 0 #prison name goes here
The parameter NCOLUMNAS indicates how many columns of soldiers the patrol will have. .NSOLDADOSCOLUMNA indicates how many soldier each column will have. .ANIMSOLDADO PATRULLEROSS.ANI indicates the soldiers in the group. .ANIMSARGENTO OFICIALSS.ANI indicates the leader of the patrol.
note: the maximum number of soldiers a patrol can have is the limit of units per map, so you can also put 20x20.
.DETIENE 0 indicates if the patrol will capture you or no, by changing it to 1 you will have to indicate where they will bring you to.
Names of the places patrols can take you to:
-Colditz prison
.CARCEL CARCELPRUEBA
not going to continue because, seems not to work
Patrols will not do some actions, like smoke . So you can not put them, but if you do, the game will work nevertheless, they simply will ignore the command.
Patrols can even be made inactive (eg. standing reading, taling etc.) to do so you must put this code:
this is an example of a patrol of 5 men (4 Mgunners + 1 Lieutenant)
As you can see, the first 2 xyz coordinates are the same, the 3rd one is the patrol's leader position, while the others are the Mgunners positions. You can give the soldiers 2 animations, or one (no need to put 2 if you don't want to). To alternate the 2 animations you need to add PORCENTAJEANIM2 , which indicates the pause between one animation and the other (0.5 should be 5 secs, while 5.0 should be 5 mins) The names of the animations can be taken from the following list
These are the patrol animations wich must be inserted in their codes:
----------------------------------------------------------------------------- Go To Place, Turn and vigilate [ .XYZ ( 0.0 0.0 0 ) .ESC EXTERIOR .ANGULO 0.0 ] ----------------------------------------------------------------------------- Talk variants .ANIMACION1 HABLAR_1 .ANIMACION1 HABLAR_2 .ANIMACION1 HABLAR_3 .ANIMACION1 HABLAR_4 .ANIMACION1 HABLAR_5 ----------------------------------------------------------------------------- Reading Plans Variants .ANIMACION1 PERIODICO_A_CICLICA .ANIMACION1 PERIODICO_B_CICLICA ----------------------------------------------------------------------------- Check the floor .ANIMACION1 MIRAR_MUERTO ----------------------------------------------------------------------------- Kick The Floor .ANIMACION1 PATADA ----------------------------------------------------------------------------- Look Around .ANIMACION1 INQUIETO ----------------------------------------------------------------------------- Smoke .ANIMACION1 FUMAR_MITAD ----------------------------------------------------------------------------- Lie Down relaxed .ANIMACION1 ABDOMINALES_B_CICLICA ----------------------------------------------------------------------------- Do Abdominals .ANIMACION1 ABDOMINALES_A_CICLICA ----------------------------------------------------------------------------- Looking Around (moving head only) .ANIMACION1 QUIETO_DE_PIE ----------------------------------------------------------------------------- Examine Cards Variants .ANIMACION1 CORREO_A_CICLICA .ANIMACION1 CORREO_B_CICLICA ----------------------------------------------------------------------------- Lie Down and Sleep .ANIMACION1 ESTAR_ATADO .ANIMACION2 ESTAR_ATADO .PORCENTAJEANIM2 0 ----------------------------------------------------------------------------- Sit on floor and relax .ANIMACION1 AUTODETENERSE .ANIMACION2 AUTODETENIDO .PORCENTAJEANIM2 1.0 ----------------------------------------------------------------------------- Sit Down on stool .ANIMACION1 SENTADO_EN_SILLA_MESA ----------------------------------------------------------------------------- Sit down and talk variants .ANIMACION1 SENTADO_REU_1_CICLICA .ANIMACION1 SENTADO_REU_2_CICLICA .ANIMACION1 SENTADO_REU_3_CICLICA .ANIMACION1 SENTADO_REU_4_CICLICA .ANIMACION1 SENTADO_REU_5_CICLICA ----------------------------------------------------------------------------- Lie Down and vigilate .ANIMACION1 TUMBADO_ABAJO ----------------------------------------------------------------------------- Have shoes cleaned forever .ANIMACION1 BOTAS_LIMPIAS_CICLICA ----------------------------------------------------------------------------- Clean Shoes .ANIMACION1 LIMPIAR_BOTAS_CICLICA ----------------------------------------------------------------------------- Count Variants .ANIMACION1 INVENTARIO_A_CICLICA .ANIMACION1 INVENTARIO_B_CICLICA ----------------------------------------------------------------------------- Kneel down and vigilate .ANIMACION1 ARROD_QUIETO ----------------------------------------------------------------------------- Lean Over .ANIMACION1 BUSCAR_VENTANA .ANIMACION2 BUSCAR_VENTANA .PORCENTAJEANIM2 0 ----------------------------------------------------------------------------- Lean Over 2 .ANIMACION1 VIGILAR_VENTANA ----------------------------------------------------------------------------- Repair with Hammer .ANIMACION1 MARTILLO_A_CICLICA ----------------------------------------------------------------------------- Indicate with hand .ANIMACION1 ECHAR_CHARLA ----------------------------------------------------------------------------- Kneel down and Smoke .ANIMACION1 FUMAR_MITAD_ARROD .ANIMACION2 FUMAR_MITAD_ARROD .PORCENTAJEANIM2 0 ----------------------------------------------------------------------------- Kneel down and Drink .ANIMACION1 ARROD_QUIETO .ANIMACION2 BEBER_BOTELLA_ARROD .PORCENTAJEANIM2 0.2 -----------------------------------------------------------------------------
there could be more of them, I just didn't test them all. If you need more animations, tell me and I'll search for the rest calmly.
Now we will see how to create new routes to make enemy vehicles follow. =======================================================================
For example, if you try to put an enemy tank on training 1, you will see the game crash; that's because that mission doesn't have "Rails" for the tank to follow. First of all, to make an enemy vehicle be on railes (any vehicle will do, an example is the truck in Haiphong), take it's code and look for this part, if it's not there, put in this one (after MOTOR code closes ).
------------------------- .TOKEN nameofdriver in here you must put the name of the driver (any will do, just make sure it is unique);
------------------------- the coordinates must be also put, usually you should put in the tanks same coordinates, but leaving them 0 0 0 never gave me problems;
------------------------- these are all the strings you must know
.LOOP 1.0 makes the route repeat always (if you do not insert it the route will be completed only once) .ESCENARIO EXTERIOR place where the route will be (usually exterior) .VEL_NORMAL 3.5 This is where you define the vehicles normal speed .VEL_RAPIDA 8.0 This is where you define the vehicles fast speed .VEL_TURBO 12.0 This is where you define the vehicles turbo speed .NOMBRE DEFAULT route name (DEFAULT is classic) .TIPO_VEL_DEFECTO speedname default route speed
note: not all the possible speed variants are supported by vehicles, so if by changing the speed from VEL_NORMAL to SUPER_RAPIDA and you don't see any difference, it means that that (not a mistake that double, this is english) vehicle doesn't feel ready for the new speed so he decides he will stay with the old one.
.ANIM vehicleaniname.ANI here you must put the vehicle name.
The following code has all the possible vehicles that can be conducted, you need to choose only the one you need and insert it in the .PUEDE_CONDUCIR string of each enemy driver.
Note: the angle refers to the tank, 0 makes the turret autocenter and not rotate to 0 angle in the world. -------------------------------------- Rotate turret to degrees (referring to world)
note: LAMBDA indicates how far the vehicle will go through that line (numbers go from 0 to 1.0); means you can create more routes called 1.0 with lambdas that change each time (first 0.1, then 0.3, then 0.7 and so on). -------------------------------------- Wait (Do Nothing) ( ESPERA [ .TIEMPO 150.0 ] ) -------------------------------------- Follow Rail and Rotate Turret to degrees (only tanks)
( SIGUE_ARISTA [ .ID_ARISTA 2.0 .LAMBDA 0.8 .VEL VEL_NORMAL .ENCARA_TORRETA [ .ANG_LOCAL 0.0 ] ] ) -------------------------------------- Wait for event ( ESPERA_EVENTO [ .FLI_EVENTO eventname ] ) -------------------------------------- Launch event ( LANZA_EVENTO [ .FLI_EVENTO eventname ] ) -------------------------------------- Also, you need to consider some small details to make the vehicle on railes:
In the main code of the vehicle, you must check that .RAILES is set to 0 with the non-threatening vehicles and o 1.0 with tanks.
-------------------------------------- By adding this code:
.NO_MARCHA_ATRAS 1.0 .RUTA_DEFECTO DEFAULT
The vehicle will not move until an event doesn't occur. ----------------------------------------------------------------------------------------------------
Now that you have the vehicle ready you need the "Rails". Rails are declared in the .mis files; This is the basic code, which can be put anywhere you want (only do not put it in other codes, always at the beginning or ending of another code):
Ok, now we have everything we need to make new Rails, but lets explain how exactly you must get these railes to work:
Inside the .NODOS code you will declare all the Rails assigning them names that go from 1.0 to anything you want, you then write in the coordinates of that Rail point.
After you created some points on the map, you need to join them, this can be done by putting in the .ARISTAS code the "lines"; all you have to know about the code is that its name (ID) must be unique, (progressive numbers from 1.0 to infinite) but do not worry, they will not interfer with Rail Points' names. At the bottom of the "lines" code you will see 2 lines named .NODO0 and .NODO1, as I think you can imagine, you must put the names of the two points that need to be joined.
Note: R1 and R4 are needed to make the rail curve, try inserting different coordinates and see how you can curve your rail.
You can also create multiple routes for the vehicles to follow, it's not so different as from making different routes for soldiers:
( SIGUE_ARISTA [ .ID_ARISTA 2.0 .LAMBDA 0.7 ] ) ) ] In our case this vehicle will follow route 1, then, upon event PUOE it will follow route 3 and then will follow route 2. Note: Don't forget that you must register in the .EVENTOS_RUTA all the routes events which must have the same name of the route to which they are assigned. Ofcourse you will also have to add thie .EVENTOS_RUTA code to the vehicle:
.RUTA_DEFECTO DEFAULT ] ] .EVENTOS_RUTA ( PUOE )
Also, if you add the .EMPIEZA_FANTASMA code followed by the .EVENTO_REACCION code:
.EMPIEZA_FANTASMA 1.0 .EVENTO_REACCION eventnametoappearhere .EVENTOS_RUTA ( eventnameofnewroute ) you will be able to make a vehicle invisible at the beginning; it will then become visible (and optionally start patrolling) at a prestabilized event.
Now you can put in a tank or any other rail vehicle and see if your rail worked. ----------------------------------------------------------------------------------------------------
Rails can also be used for light movements:
If you go in the codes folder and then into the miscellaneous, you will find the script of a light with rails. That light will follow a more realistic trail if compared to the normal light, but it will take more time to make. The effect at the end is the same, only with the rails you can have more control over the light and in the whole, it is estethically better. Be careful when giving ID's to the trail and to the Nodes. They cannot interfer with the outer rails (of vehicles) and must be always unique to themselves.
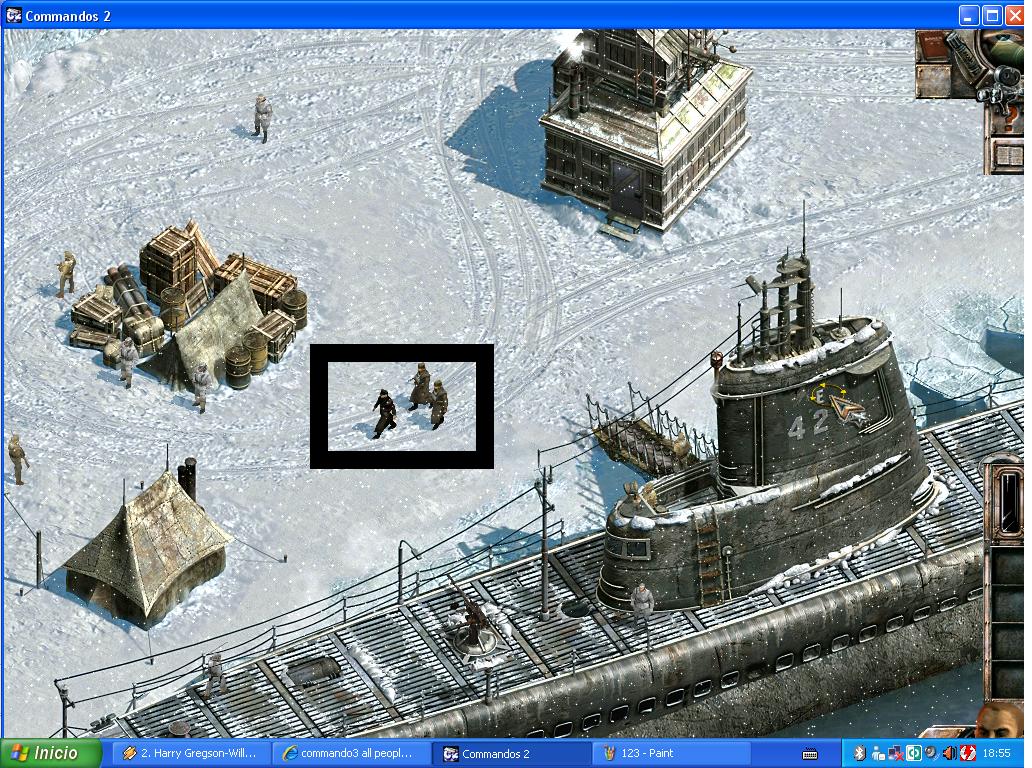
MoiChain: The mission white death in C2MOD have a rail no? because when the alarm sound..... a tank appears.... how to put that raild in C3,, because I guess it's a code for C3 diferent than C2...


 Logged